


Installing PHP and MySQL
Posted on June 23rd, 2010 John Casey
Difficulty: Easy
Estimated completion time: 15-20 minutes
Language: None
When developing PHP applications it is very useful to have the latest versions of PHP and MySQL installed on your local machine. This then allows you to quickly and efficentally make changes to your code without the need to download and then upload files to your server.
When installing PHP you first need to have a web server running on your PC, now this might seem like a dounting though be don’t worry it can actully be quite a simple process if you know where to look to find the right software.
The web server I am going to be installing is called Apache, and like PHP and MySQL it is free and open souce, so again you don’t need to worry about shelling out hundreds for a single piece of software.
I will be installing this on a windows machine, but the process is very similar on an Apple Mac. The first thing you need to do is point your browser towards the WAMP server website if you are using Windows or MAMP Server if you are using a Mac. And then towards the downloads page. Once there download the latest version of the software.
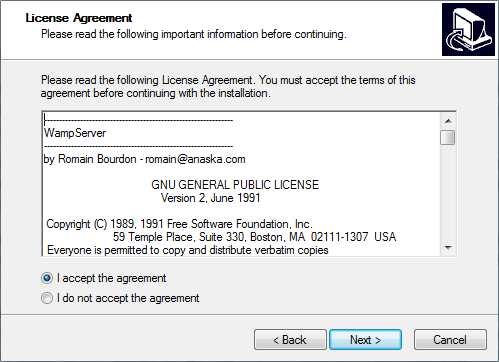
Once your download has finished run the file click next and quickly read the terms and conditions, then click “I agree” and continue to the next screen of the installer.
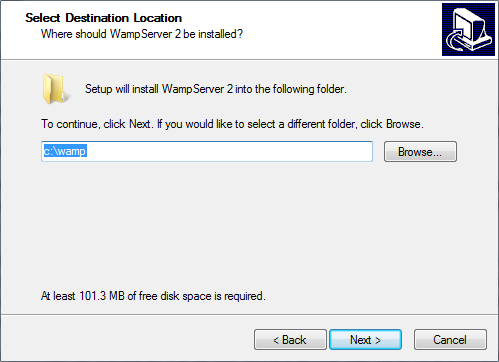
It will ask you which folder you wish to install the server to, this does not actually matter to much, but I always keep it as its default just because it is a fairly easy place to access (c:/wamp).
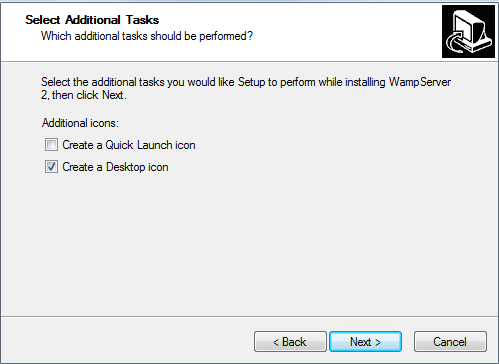
The next screen askes wheather you wish to create a quick launch icon and/ or a desktop icon. The quick launch icon is a small button displayed to the right of th start button. A desktop icon is a button on your desktop. Both of these, when clicked, start up the server. I like to have a desktop icon but not a quick lanuch icon. This is purly personal taste and you can have both or neither if you wish.
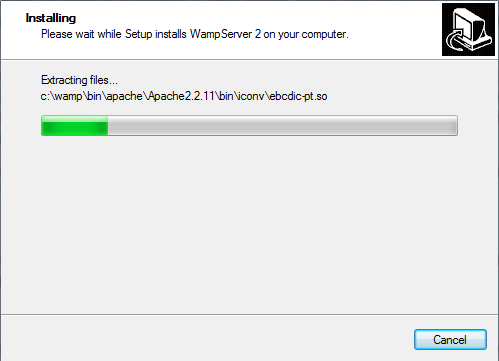
You will then be given a screen telling you of the options of the installation, double check this to mkae sure that its only installing what you want it to install. Then click the install button. The installer will then run, depending on how fast your computer is this shouldn’t take more then a couple of minutes.
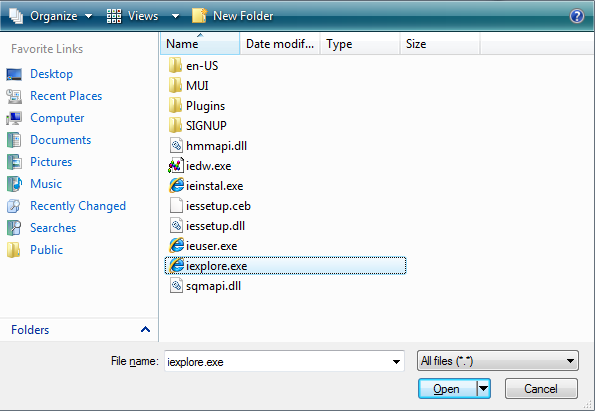
You will then be asked to link to your browser via the explorer, simply select your prefered browser and click ok.
You will then be asked for your SMTP and email details, use the dafault values for this and click next. You will then be given a congraduatory page telling you the installing of the software as been sucessful.
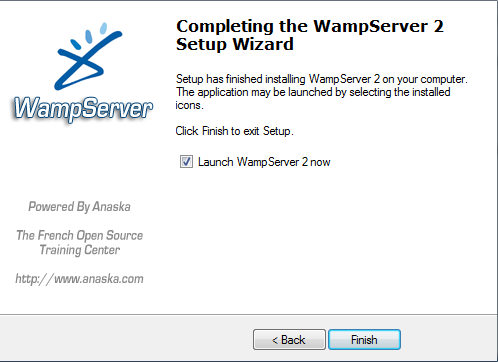
Choose to launch your server and click finished. Then open your browser of choice and point it to either http://localhost or 127.0.0.1. If the installation has worked you should see the server index page. This is shown below.
The default database details are; server – localhost, username – root and password is blank.
Filed under PHP |
Comments
-
Gilbert - February 11th, 2015 at 7:53 am
.…
áëàãîäàðþ!!…
-
Alfred - February 11th, 2015 at 11:29 am
.…
áëàãîäàðåí!!…
-
Bob - February 11th, 2015 at 12:05 pm
.…
ñïñ çà èíôó!…
-
Gerald - February 11th, 2015 at 12:40 pm
.…
thanks!…
-
Hubert - February 11th, 2015 at 1:16 pm
.…
hello!…
-
Richard - February 11th, 2015 at 1:51 pm
.…
thanks….
-
Joey - February 11th, 2015 at 8:48 pm
.…
áëàãîäàðþ!…
-
Juan - February 11th, 2015 at 9:26 pm
.…
ñïñ çà èíôó!!…
-
Bruce - February 11th, 2015 at 10:41 pm
.…
ñýíêñ çà èíôó!…
-
Francisco - February 11th, 2015 at 11:04 pm
.…
áëàãîäàðåí!!…
-
byron - February 11th, 2015 at 11:44 pm
.…
áëàãîäàðñòâóþ….
-
walter - February 12th, 2015 at 12:06 am
.…
good….
-
luther - February 12th, 2015 at 1:53 am
.…
good info….
-
Erik - February 12th, 2015 at 7:07 am
.…
hello!!…
-
tom - February 12th, 2015 at 8:05 am
.…
tnx for info….
-
Gordon - February 12th, 2015 at 8:58 am
.…
áëàãîäàðþ!!…
-
Dwight - February 12th, 2015 at 1:16 pm
.…
ñïàñèáî çà èíôó….
-
Homer - February 12th, 2015 at 1:52 pm
.…
áëàãîäàðñòâóþ!!…
-
Ted - February 12th, 2015 at 5:29 pm
.…
ñïñ!!…
-
Jessie - February 13th, 2015 at 2:22 am
.…
good info….
-
David - February 13th, 2015 at 2:58 am
.…
ñïàñèáî çà èíôó….
-
charles - February 13th, 2015 at 3:34 am
.…
ñïñ….
-
morris - February 13th, 2015 at 5:45 am
.…
ñïàñèáî çà èíôó!!…
-
troy - February 13th, 2015 at 6:58 am
.…
ñïàñèáî!!…
-
Gary - February 13th, 2015 at 7:35 am
.…
ñýíêñ çà èíôó….
-
douglas - February 13th, 2015 at 10:31 am
.…
ñýíêñ çà èíôó!…
-
Zachary - February 13th, 2015 at 9:02 pm
.…
ñïñ!!…
-
lynn - February 13th, 2015 at 10:14 pm
.…
áëàãîäàðþ….
-
Phillip - February 14th, 2015 at 1:20 am
.…
good!…
-
Elmer - February 14th, 2015 at 1:53 am
.…
ñïñ….
-
bruce - February 14th, 2015 at 2:25 am
.…
ñïàñèáî!!…
-
alfonso - February 14th, 2015 at 2:28 am
.…
tnx for info!!…
-
Guy - February 14th, 2015 at 3:18 am
.…
tnx for info!!…
-
Manuel - February 14th, 2015 at 3:49 am
.…
áëàãîäàðñòâóþ….
-
Enrique - February 14th, 2015 at 9:12 am
.…
áëàãîäàðåí!!…
-
george - February 14th, 2015 at 9:43 am
.…
thank you….
-
hugh - February 14th, 2015 at 11:13 am
.…
thank you….
-
henry - February 14th, 2015 at 11:40 am
.…
áëàãîäàðåí!…
-
William - February 14th, 2015 at 11:46 am
.…
thanks for information!…
-
salvador - February 14th, 2015 at 1:02 pm
.…
ñïàñèáî çà èíôó….
-
milton - February 14th, 2015 at 1:10 pm
.…
ñïñ….